
Now they won’t be sticking to each other in odd configurations and rattling around in the drawer.
How does it work? Asking about the organisers ; nobody knows how magnets work!
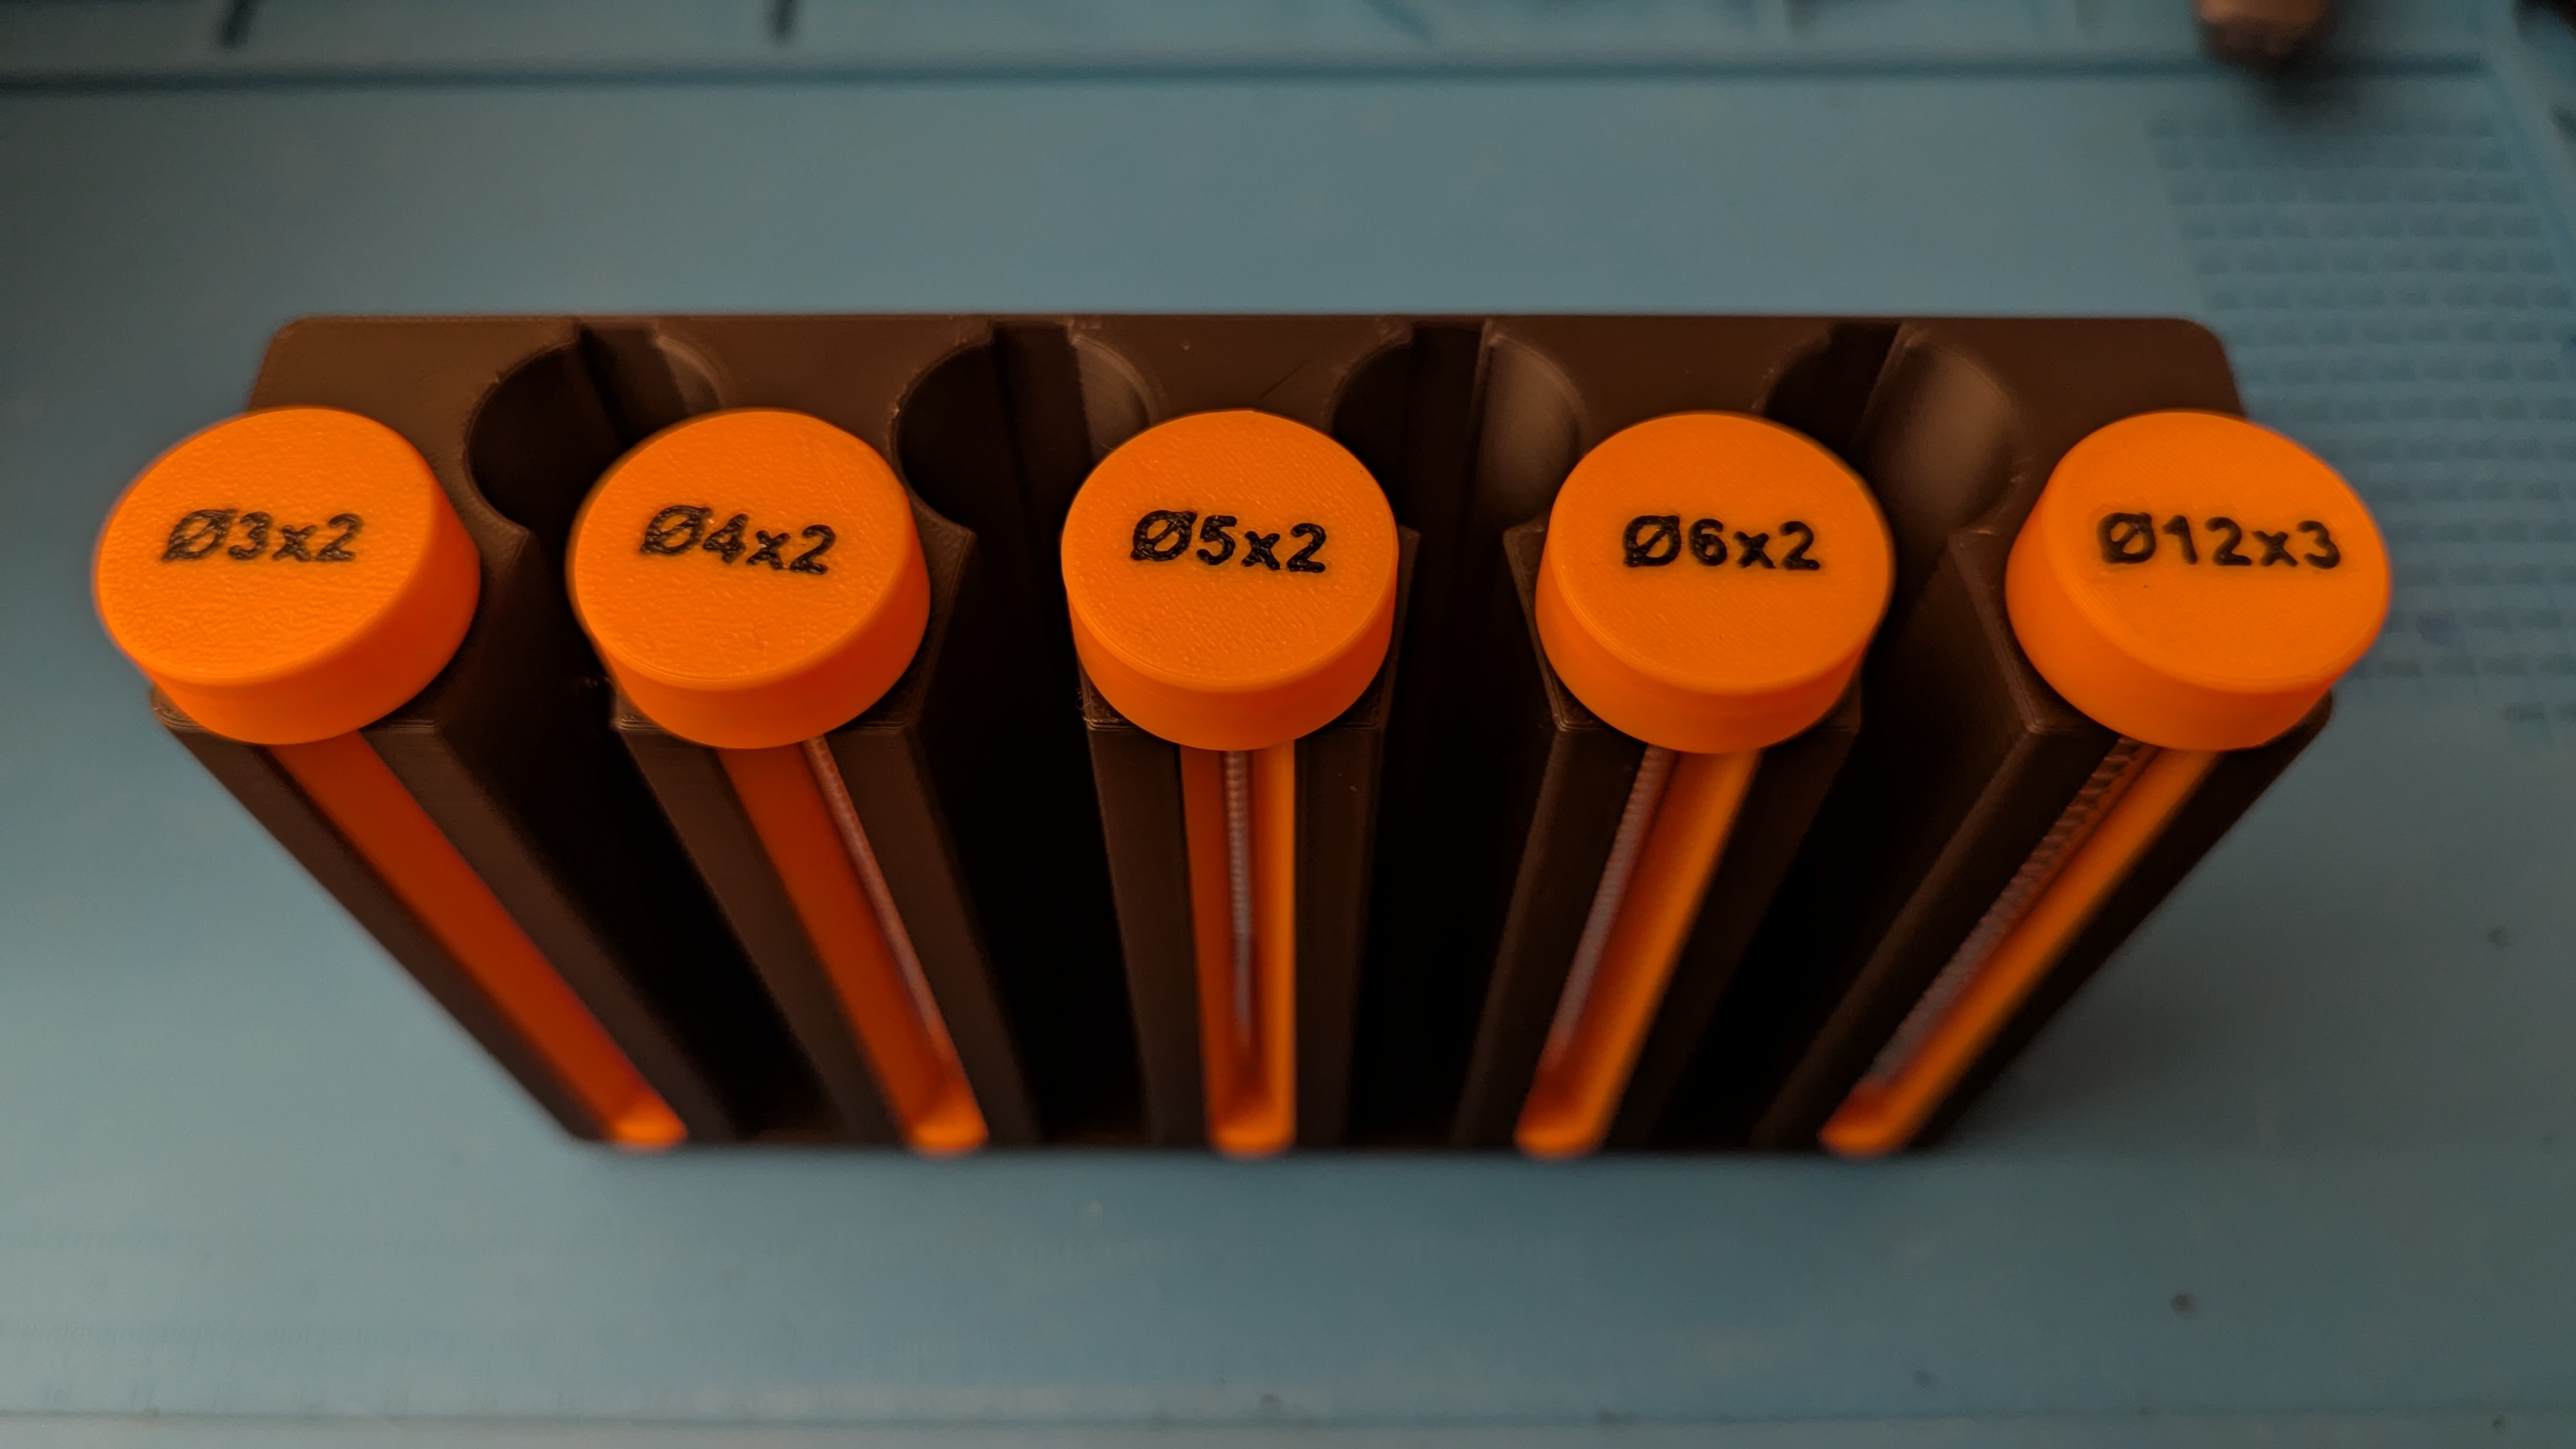
Unscrew cap, fill it with 1 row of magnets (the hole is sized to be just larger than the magnet diameter so it doesn’t rattle), rescrew cap. The tube is dovetailed to a matching slot on the holder that prevents it from rotating so the viewing “window” is always visible from the front.
That’s cool, but why do you have so many magnets? What do you use them for?
They have a lot of use cases if you’re into 3D printing, for example.
I’m into 3D printing and have no idea what I would use magnet for. 😅
My printer has toolhead cover parts that are magnetic for ease of maintenance, for example. If you’re gonna print functional stuff, you’re gonna end up needing
- a selection of ball bearings
- a selection of screws (machine and self-tapping for plastics)
- a selection of melt inserts and the appropriate tool
- possibly a selection of magnets
Some people enjoy decorative stuff, I enjoy printing stuff that is useful.
Almost anywhere that you would use a latch or compliant latching mechanism you could use magnets.
I print nameplates for my office worker friends and add a few under the surface to give a place to put loose paperclips. Also, in bag clips (for chips and stuff) so they can stick to the fridge when not in use.
It’s like bearings and assorted bolts, you just keep a stock of them handy because they’re so useful in general when you’re making things.
Attraction
Nice magnets, bro
And those layer lines 🤌. No ringing, input shaping or solid work bench?
Nope, plug and play. It’s a new printer. I’ve had a few print fails so far, mostly since I’m still learning all of this.
Ah, it’s new so it probably does the input shaping for you. There is probably some calibration step where it moves the head around and kind of twitches around a bit. Though modern printers can do calbration while printing.
It builds a map of how the machine wobbles due to the mass of the print head moving and then slightly tweaks (“shapes”) the inputs it recieves to cancel out the wobbles. Without it, the layer lines would be slightly misaligned and that stands out when you’re printing flat vertical features.
That’s a good quality print, you have it dialed in nicely.
Speaking of neat festures, if you enable ironing in your slicer, it’ll do a slow pass over the top surfaces with a small amount of extrusion which will fill in areas on the surface where the adjacent layers didn’t quite fuse together, like above the #5 tube. It’s purely cosmetic, an alternative is to print “upside down” so the top surface of the print is textured from the bed.
